How to Create a Family Photo Wall: A Step-by-Step Guide
Posted on 2025-03-24A family photo wall is a beautiful way to showcase your most cherished memories while adding a personal touch to your home decor. It serves as a visual representation of your family’s journey and can spark conversations about shared experiences. Here’s a step-by-step guide on how to create a family photo wall that captures your unique story.
Step 1: Choose the Right Location
The first step in creating a family photo wall is selecting the perfect location:
- High-Traffic Areas: Consider spaces where family members and guests frequently gather, such as living rooms, hallways, or dining areas.
- Visibility: Choose a wall that is easily visible to create a focal point in your home, inviting everyone to engage with the memories displayed.
Step 2: Select Your Photos
Gather a selection of photos that you want to include in your wall display:
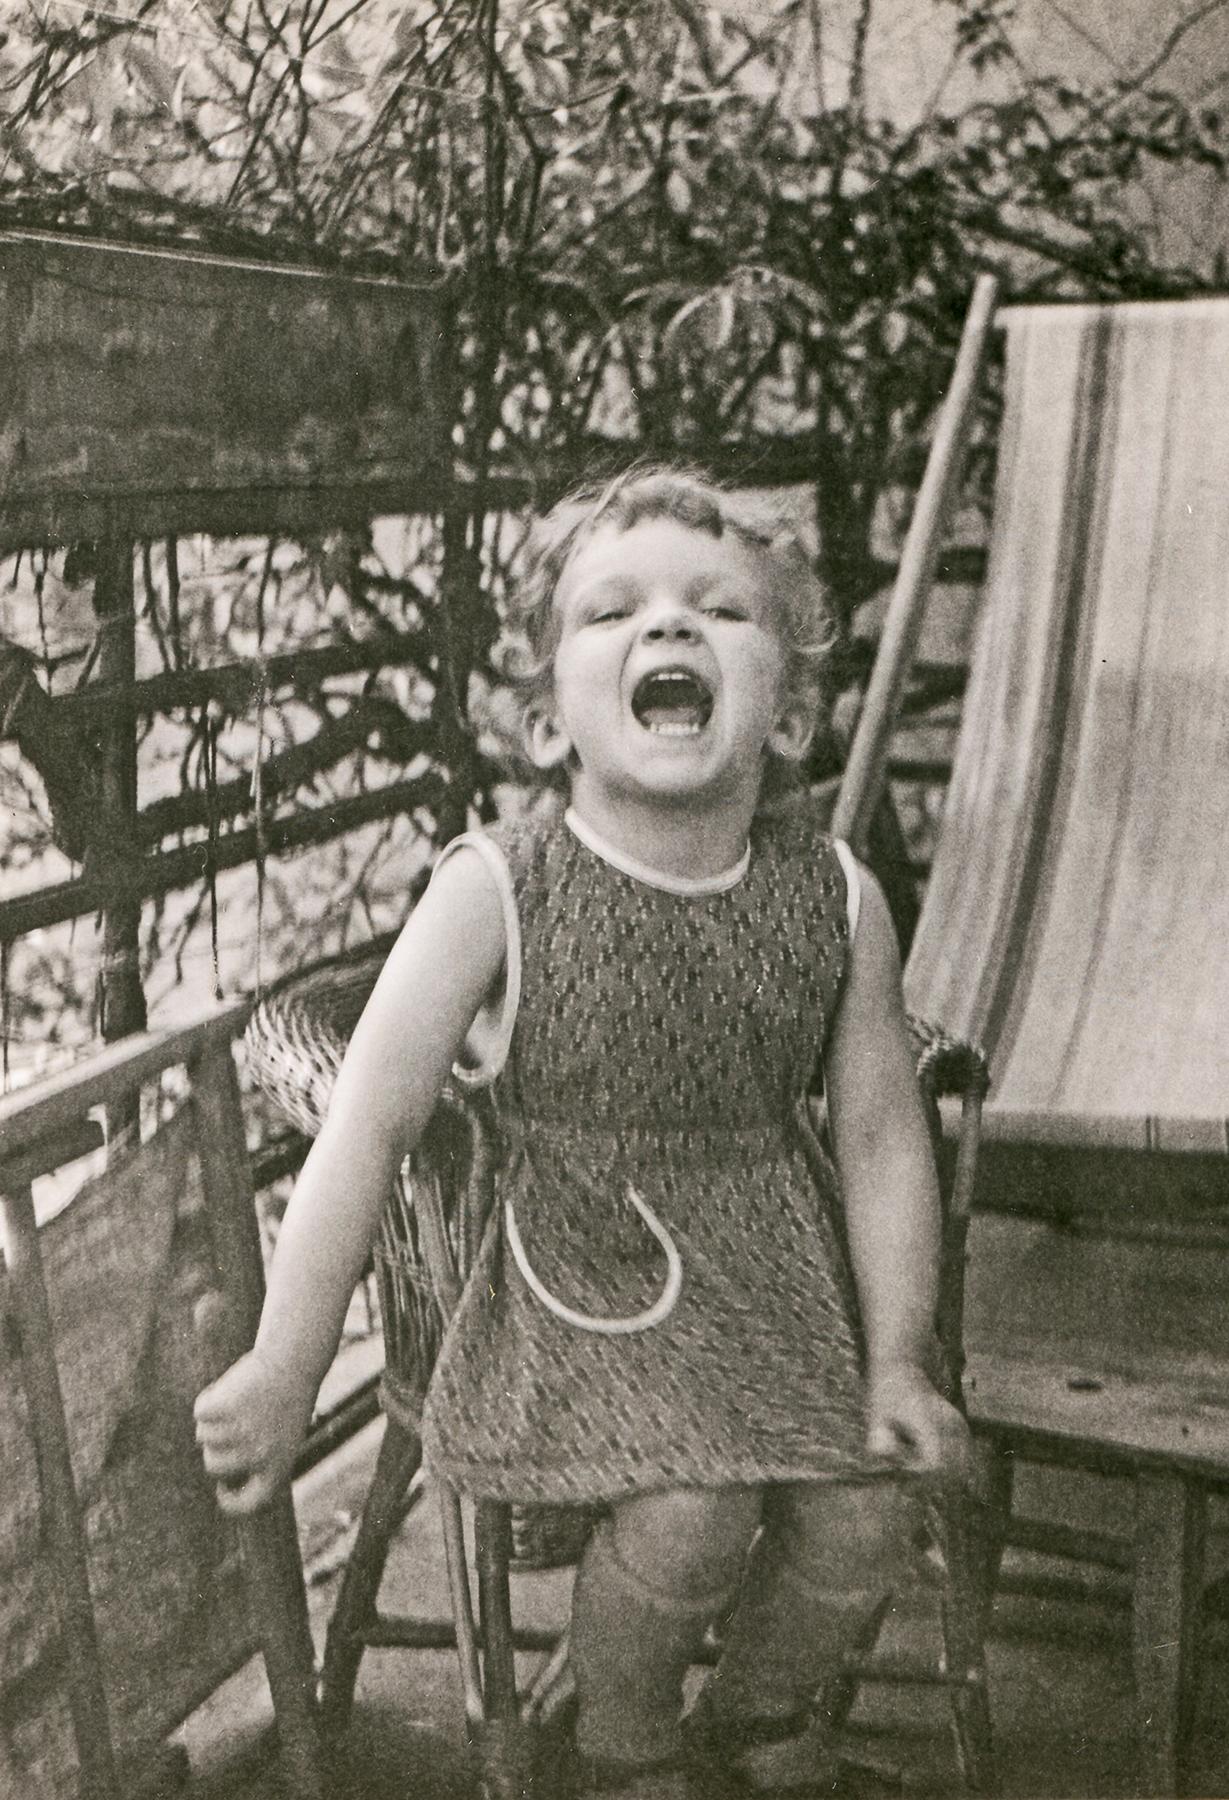
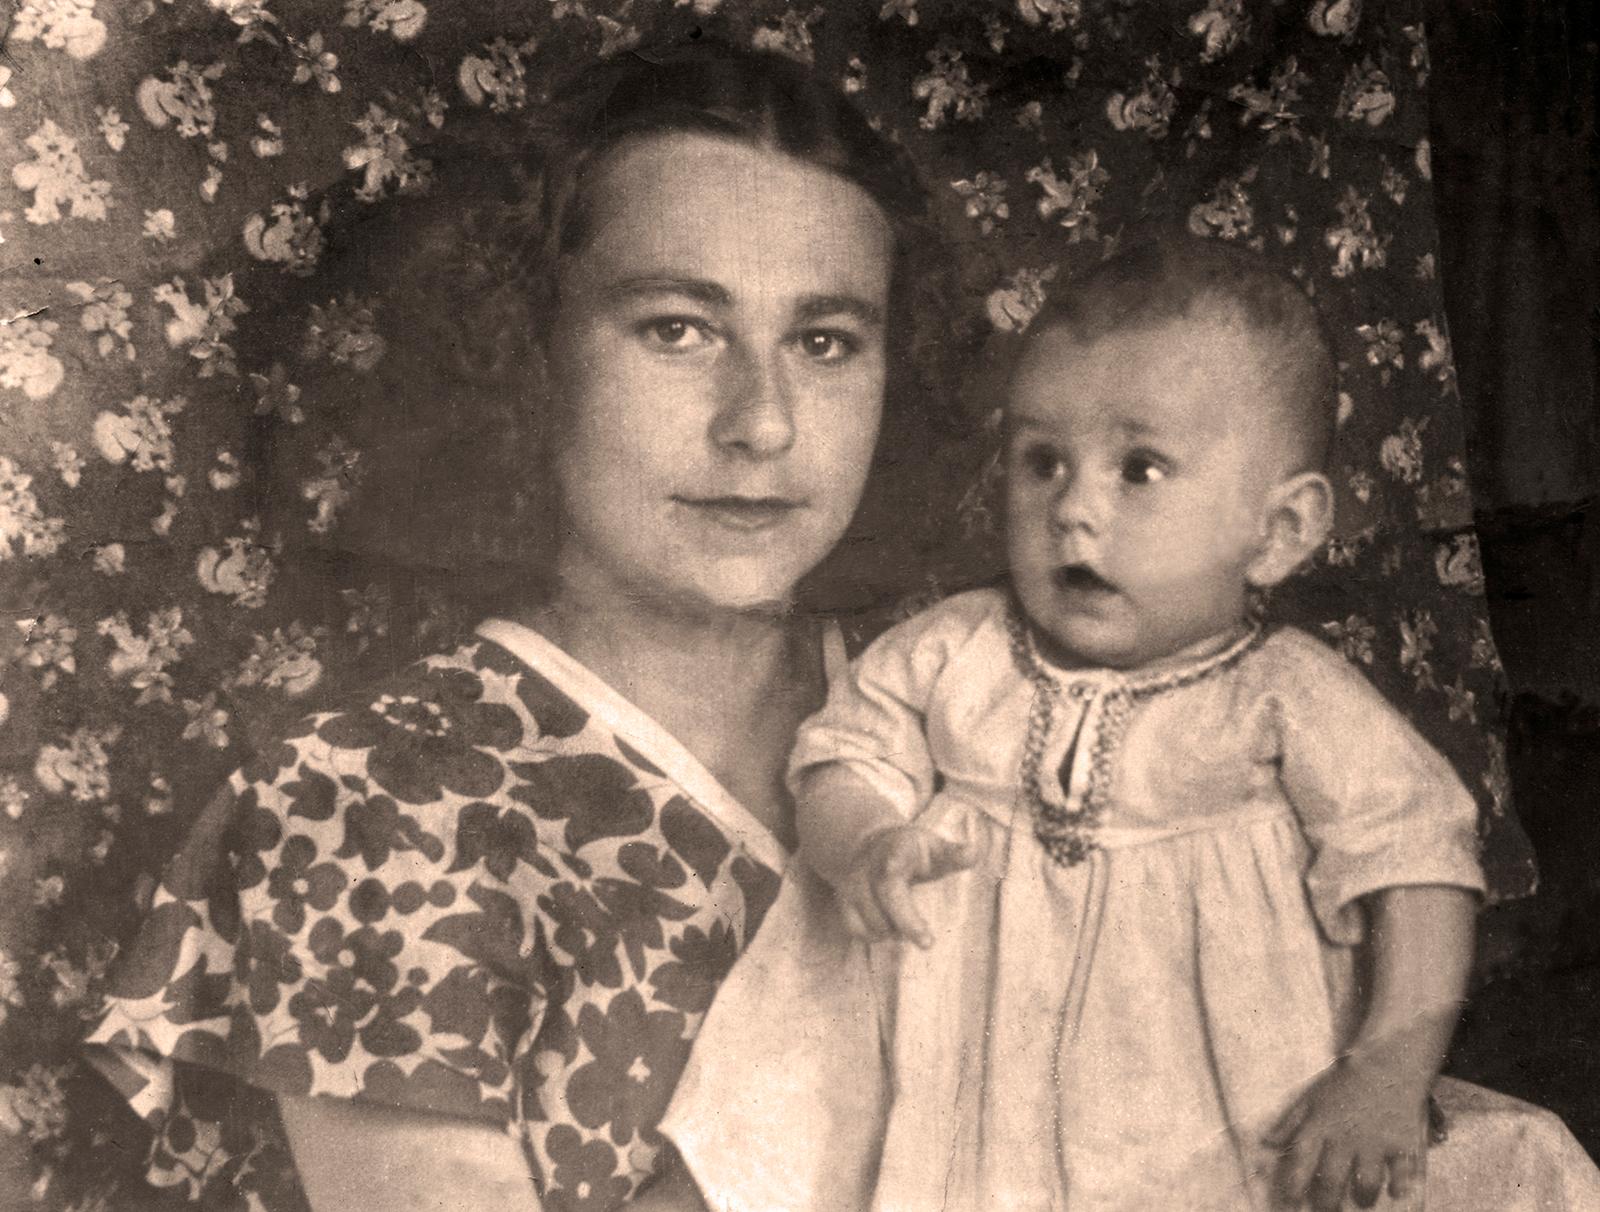
- Meaningful Moments: Choose images that represent significant events, such as family vacations, weddings, holidays, or candid everyday moments.
- Variety: Aim for a mix of candid shots, posed portraits, and group photos to tell a well-rounded story of your family.
- Consider Size: Include photos of various sizes to create visual interest and dynamic arrangements.
Tip: Digitize Old Photos
If you have physical prints that you wish to include, consider digitizing them using a scanning service like PhotoPanda to ensure high-quality reproductions.
Step 3: Choose Your Frames
Selecting the right frames is crucial for a cohesive look:
- Frame Styles: Choose frames that complement your home decor. You can go for a uniform look with matching frames or mix and match styles for an eclectic feel.
- Color Schemes: Consider using neutral colors like black, white, or wood tones to highlight the images, or opt for colorful frames to add personality and vibrancy to the display.
- Sizes and Shapes: Combine various frame sizes and shapes to create an interesting layout. Ensure that larger frames are balanced with smaller ones for a visually pleasing arrangement.
Step 4: Plan Your Arrangement
Before hanging your frames, plan your layout:
- Sketch It Out: Use paper or digital tools to sketch out different arrangements. This allows you to visualize how the frames will look on the wall.
- Use Painter’s Tape: Consider using painter’s tape to outline the size and placement of the frames on the wall, helping to visualize the final layout without making permanent holes.
- Balance: Ensure a balanced distribution of photos, avoiding clustering too many similar sizes or colors together.