The Best Practices for Scanning and Preserving Your Family Photos
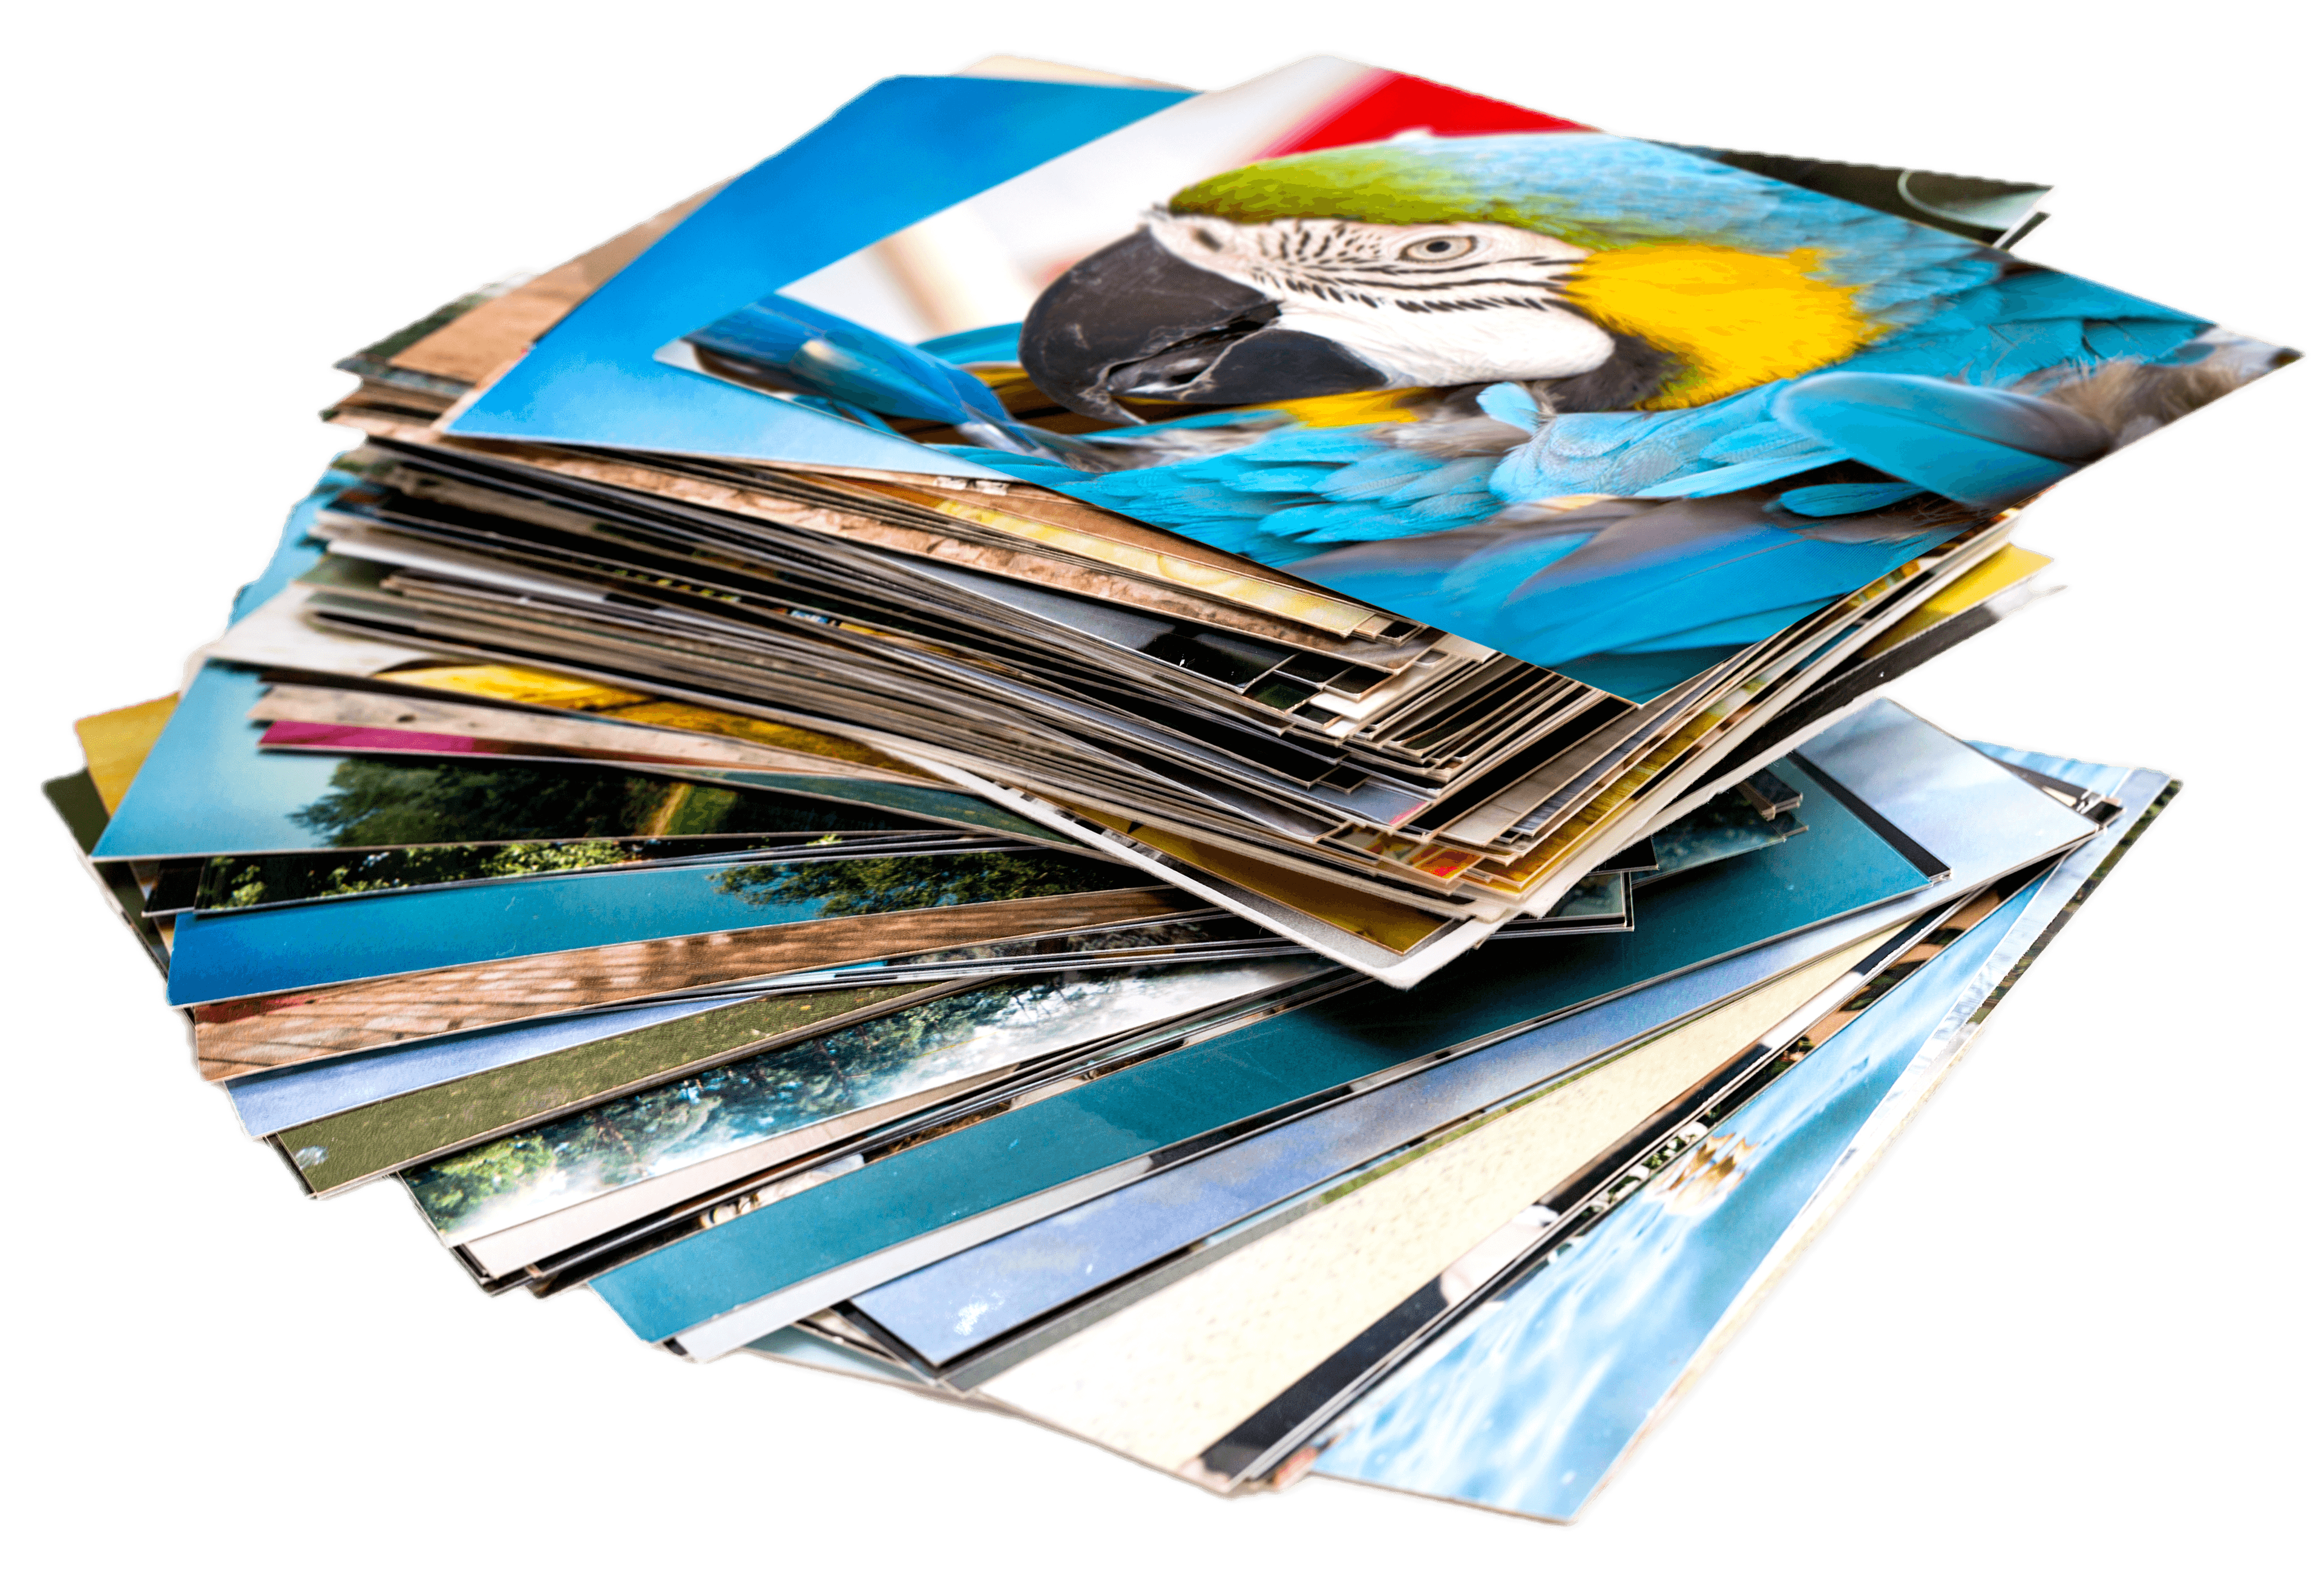
Posted on 2025-02-27Family photos are a treasure trove of memories, capturing moments that tell the story of our lives and our loved ones. However, physical photographs are susceptible to fading, damage, and deterioration over time. Scanning and preserving your family photos effectively can help safeguard them for future generations. Here are some best practices to consider when digitizing and preserving your family’s cherished memories.
1. Prepare Your Photos for Scanning
Before you start the scanning process, it’s essential to prepare your photos:
- Clean the Photos: Gently remove dust and debris with a soft, lint-free cloth or a blower brush. Avoid using any cleaning solutions that could damage the photo surface.
- Handle with Care: When handling old photos, wear cotton gloves to prevent fingerprints and oils from transferring onto the images. Always hold them by the edges to minimize the risk of bending or tearing.
- Sort and Organize: Organize your photos into categories (such as by year, event, or family member) to make the scanning process more efficient.
2. Choose the Right Scanner
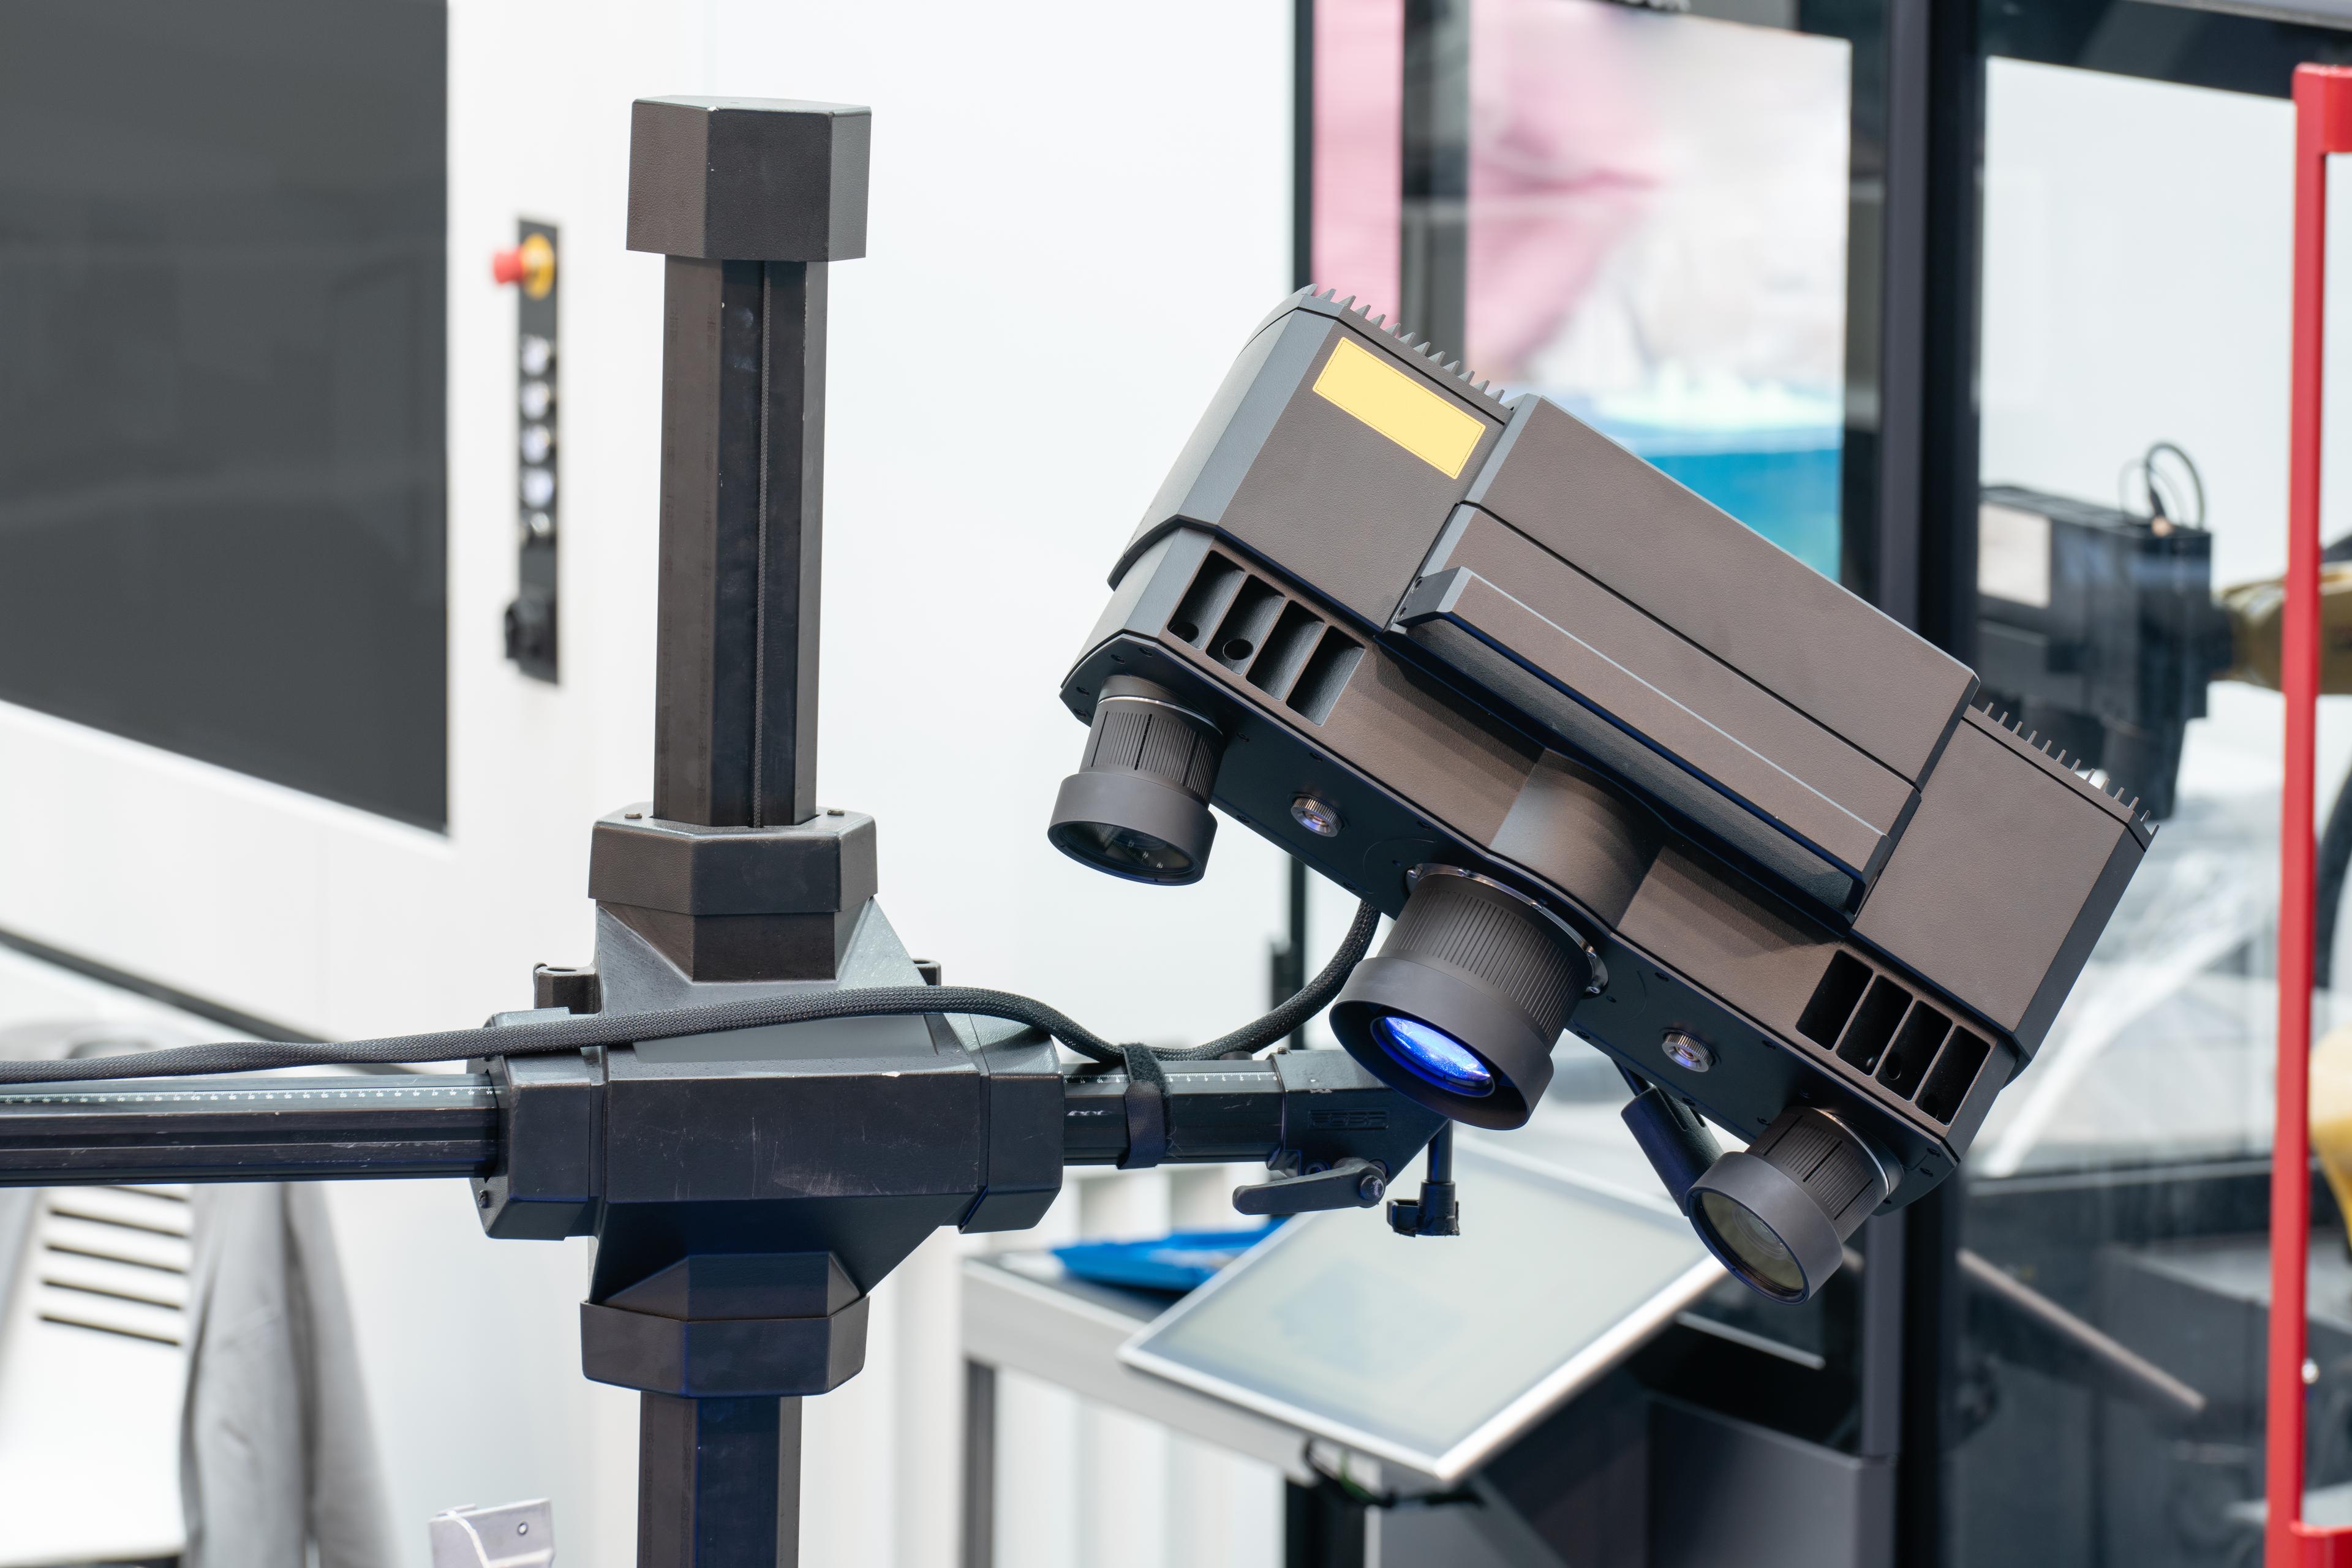
Selecting the right scanner is crucial for achieving high-quality digital images:
- Opt for a High-Resolution Scanner: Ideally, choose a scanner with a resolution of at least 600 DPI for photo scanning. Higher resolutions will capture more detail, making it easier to restore and enlarge images later.
- Flatbed Scanners vs. Sheet-fed Scanners: Flatbed scanners are generally better for delicate or larger photos, while sheet-fed scanners can quickly scan multiple images if you have a large collection.
- Consider Professional Scanning Services: If you have a vast collection or highly valuable images, consider using a professional scanning service like PhotoPanda for high-quality results and expert handling.
3. Optimize Scanner Settings
To achieve the best results, adjust your scanner settings appropriately:
- Select the Right File Format: Save scanned images in high-quality formats such as TIFF for archiving or JPEG for everyday use. TIFF files retain more detail but take up more space, while JPEGs offer a balance of quality and file size.
- Choose Color Settings: If scanning black-and-white photos, make sure to select grayscale settings to avoid unnecessary color adjustments. For color images, use settings that preserve the original hues and tones.
4. Edit and Enhance Scanned Photos
After scanning, consider editing your photos to enhance their appearance:
- Use Photo Editing Software: Applications like Adobe Photoshop or GIMP can help you adjust brightness, contrast, and color balance. You can also use tools to remove scratches and dust.
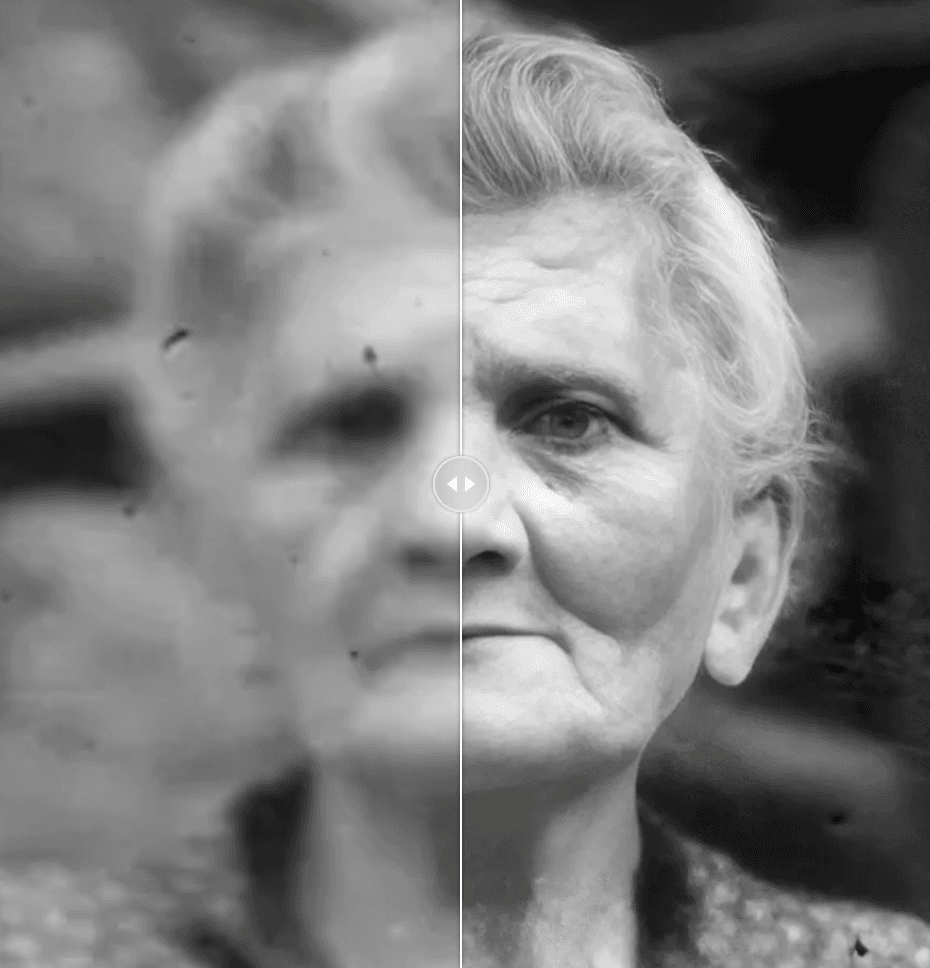
- Restoration Techniques: If you have damaged photos, consider using restoration techniques to repair tears, remove blemishes, and restore faded colors.