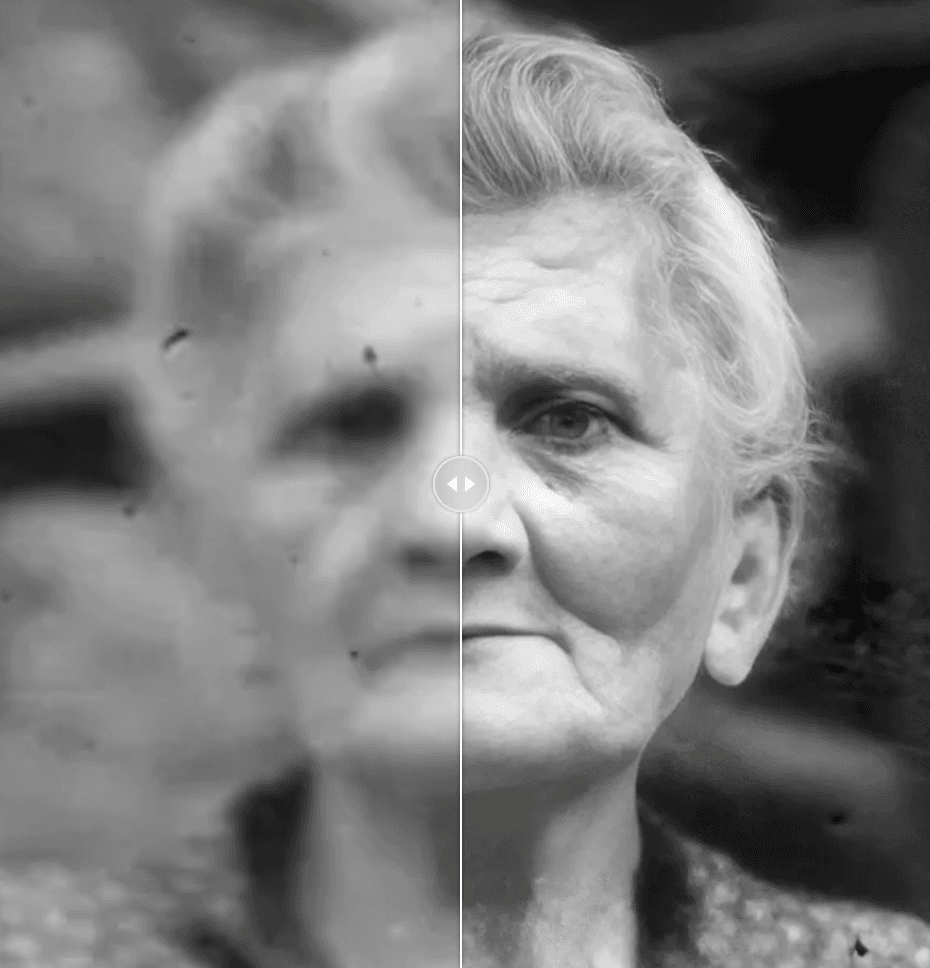
10 Tips for Successfully Digitizing Your Old Family Photos
Posted on 2025-03-23Digitizing old family photos is a meaningful project that allows you to preserve cherished memories while ensuring they remain accessible for future generations. However, the process can feel overwhelming if you don’t know where to start. Here are 10 essential tips to help you successfully digitize your family photos, ensuring the best possible results and preserving your family’s legacy.
1. Gather All Your Photos
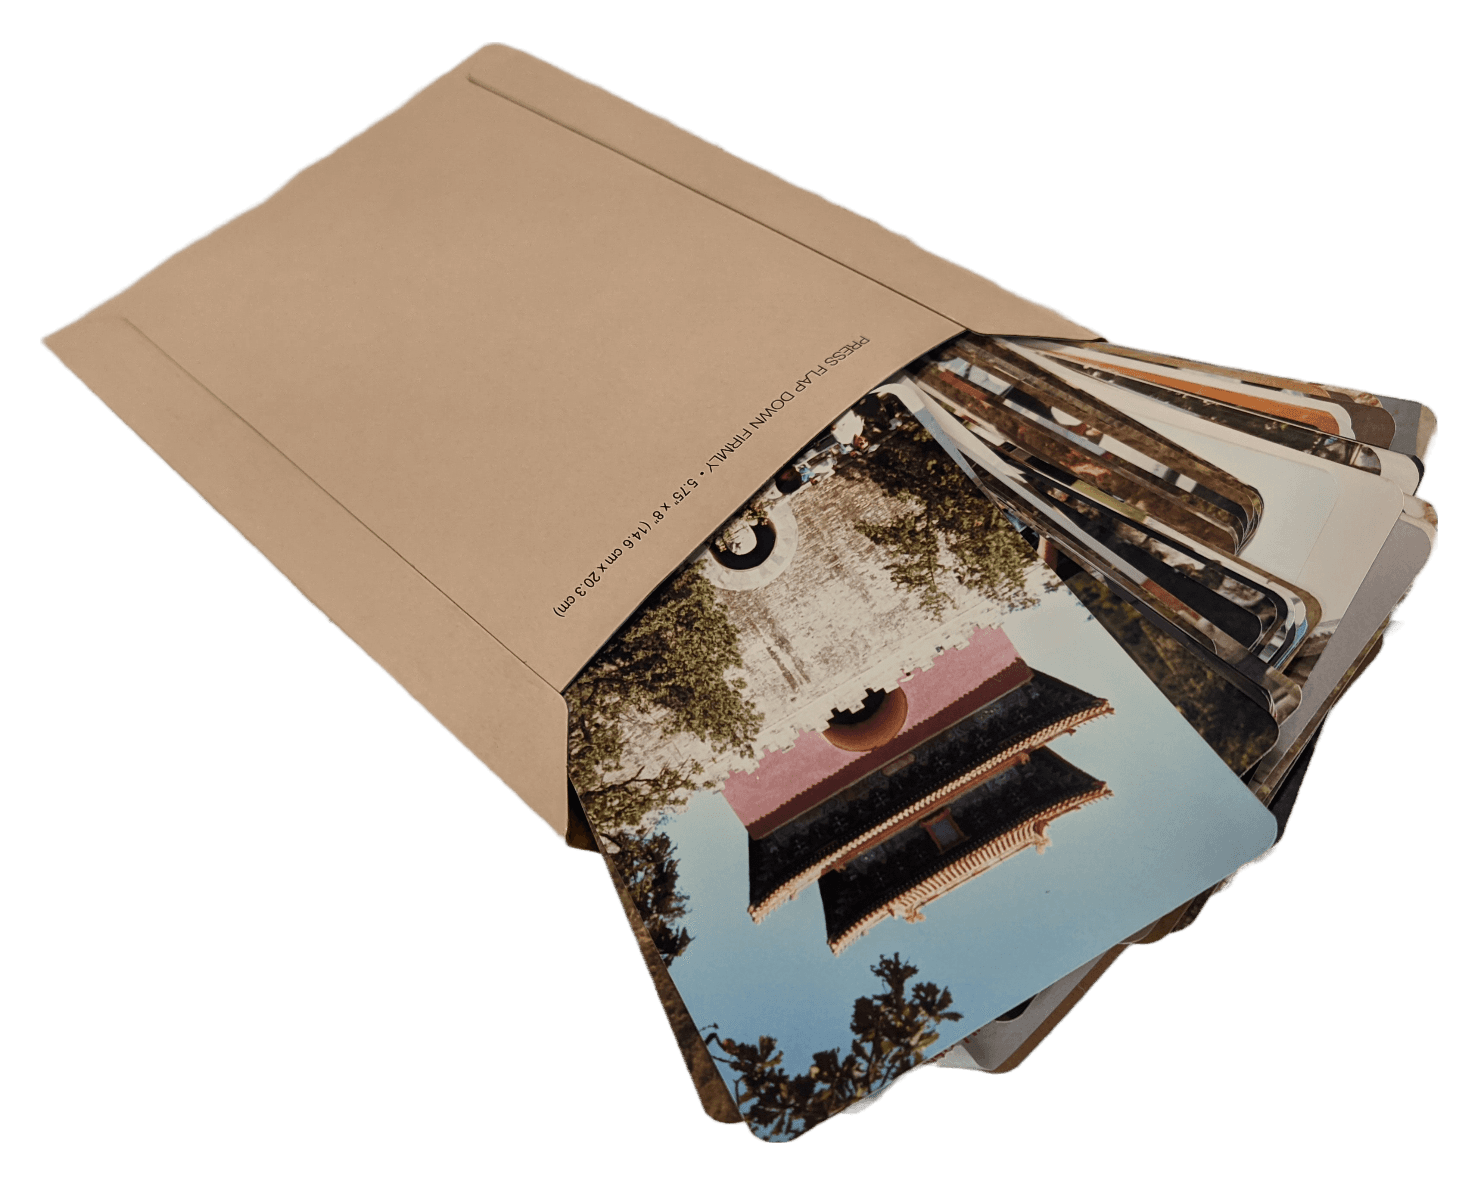
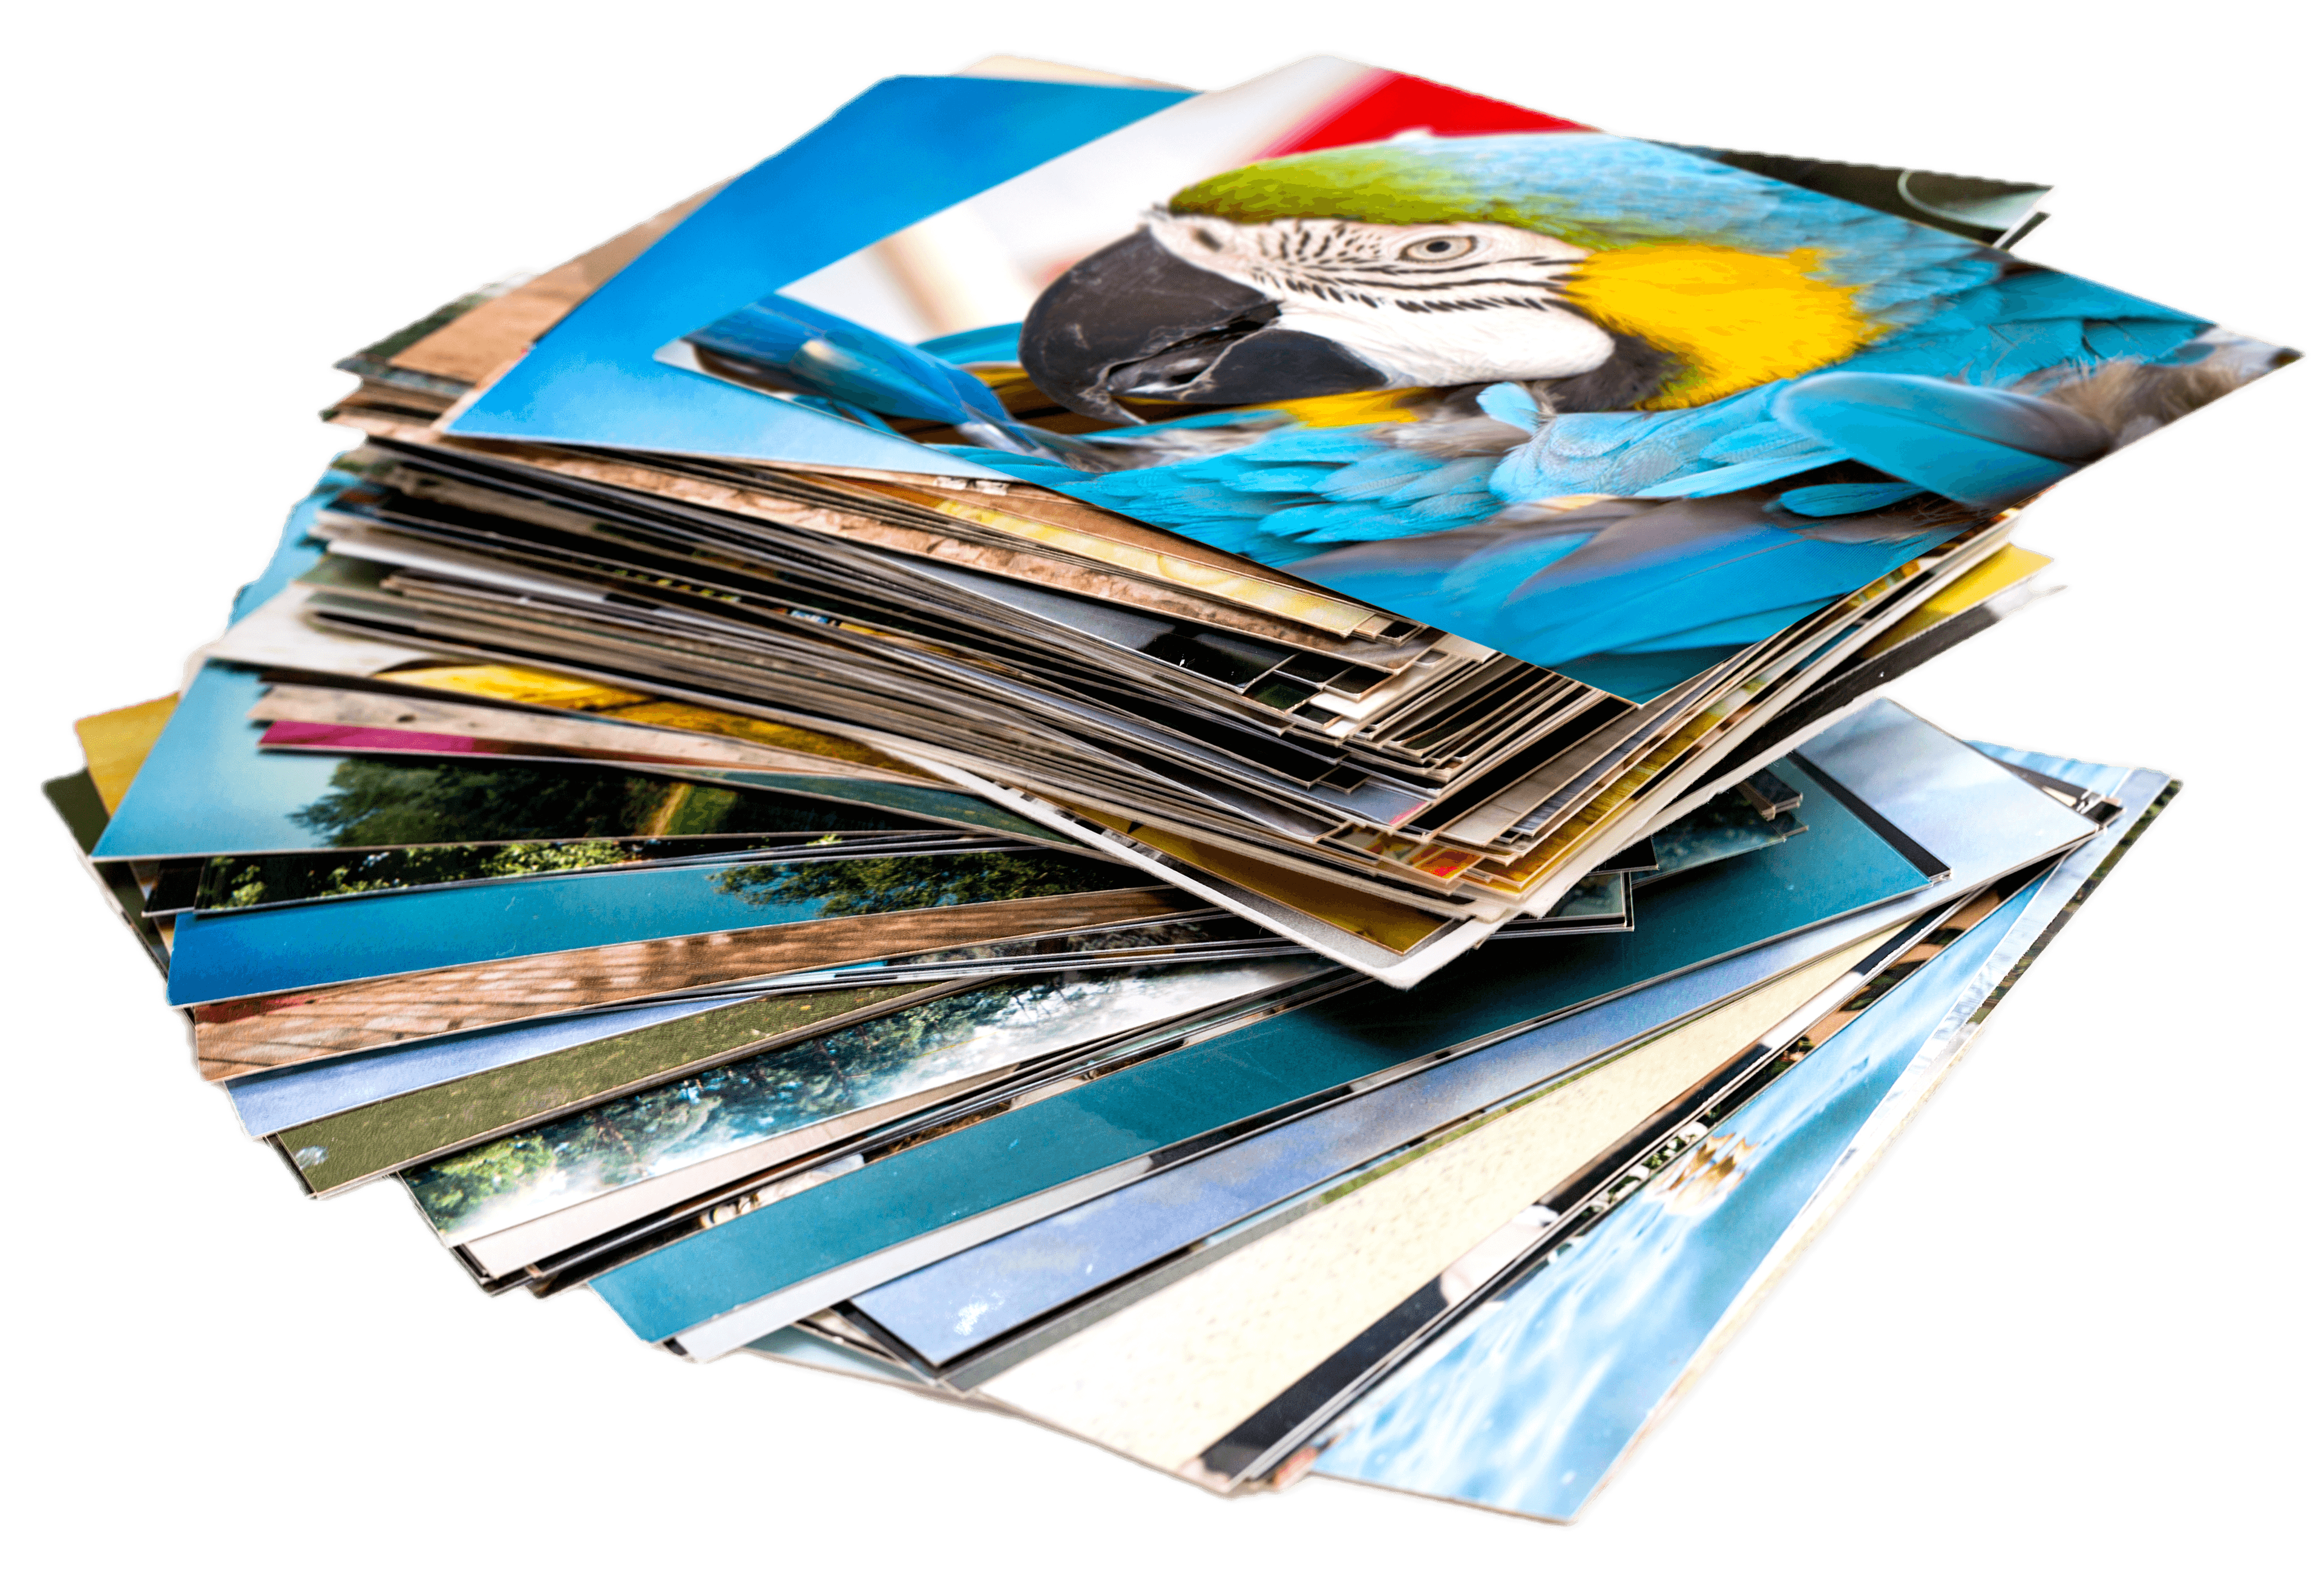
Start by collecting all the physical photographs you want to digitize. This may involve:
- Searching Through Albums: Look for printed photographs in albums, frames, and boxes around your home.
- Including Various Formats: Gather photos of different sizes and types, such as snapshots, portraits, and even negatives or slides if you have them.
- Family Contributions: Don’t hesitate to reach out to relatives to gather any additional photos that you might want to include in your digitization project.
Tip: Create a Designated Workspace
Set up a clean and well-lit workspace where you can organize and prepare your photos for scanning. This dedicated area will help streamline the process and keep everything manageable.
2. Sort and Organize Your Photos
Once you’ve collected your photographs, it’s time to sort and organize them:
- Chronological Order: Arrange your photos by date to create a timeline of your family’s history.
- Thematic Categories: Alternatively, group photos by themes, such as vacations, family gatherings, or holidays, to enhance storytelling.
- Highlight Key Events: Identify significant milestones—like weddings, births, or graduations—that you want to ensure are included in your digitization process.
3. Assess the Condition of Your Photos
Before scanning, assess each photo's condition:
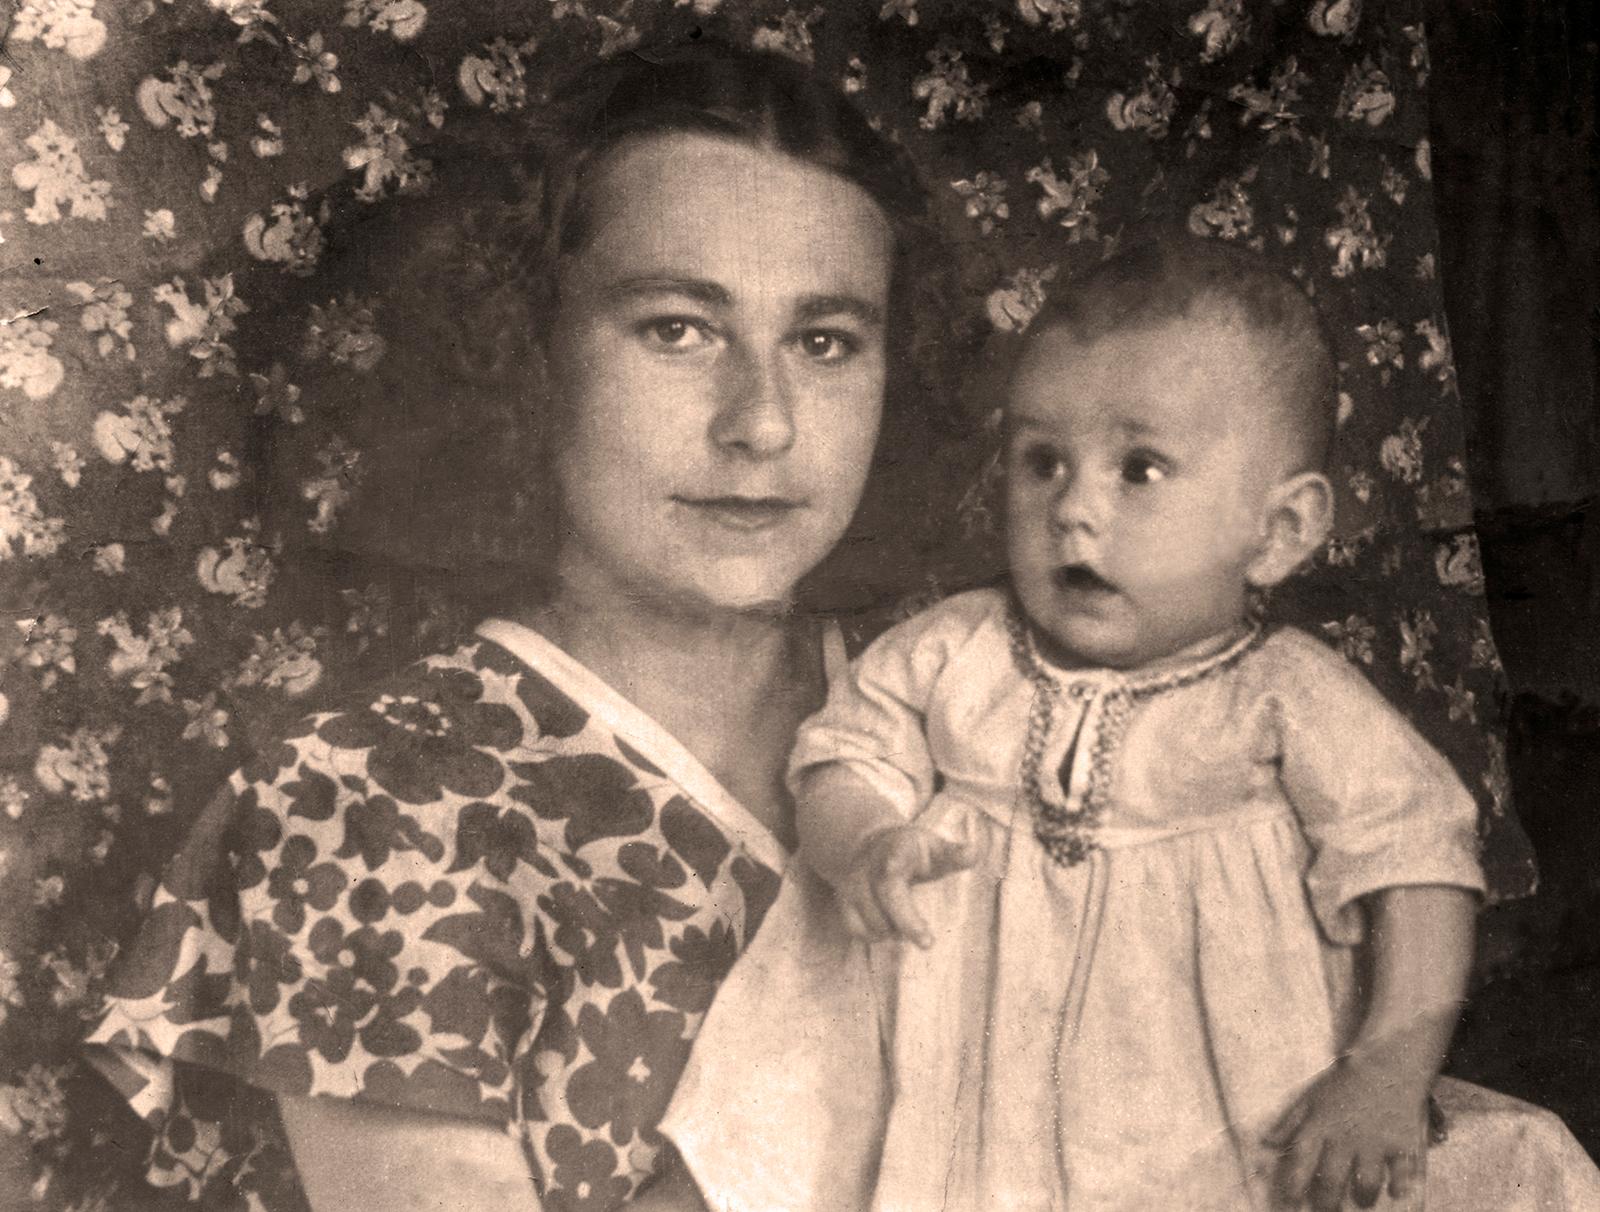
- Check for Damage: Look for faded colors, tears, or scratches. Identifying these issues will help you determine if any special restoration is necessary after scanning.
- Cleaning: Use a soft, lint-free cloth to gently clean the surface of each photo, removing dust and debris before scanning to ensure the best quality.
4. Choose Your Scanning Method
You have several options when it comes to digitizing your photos:
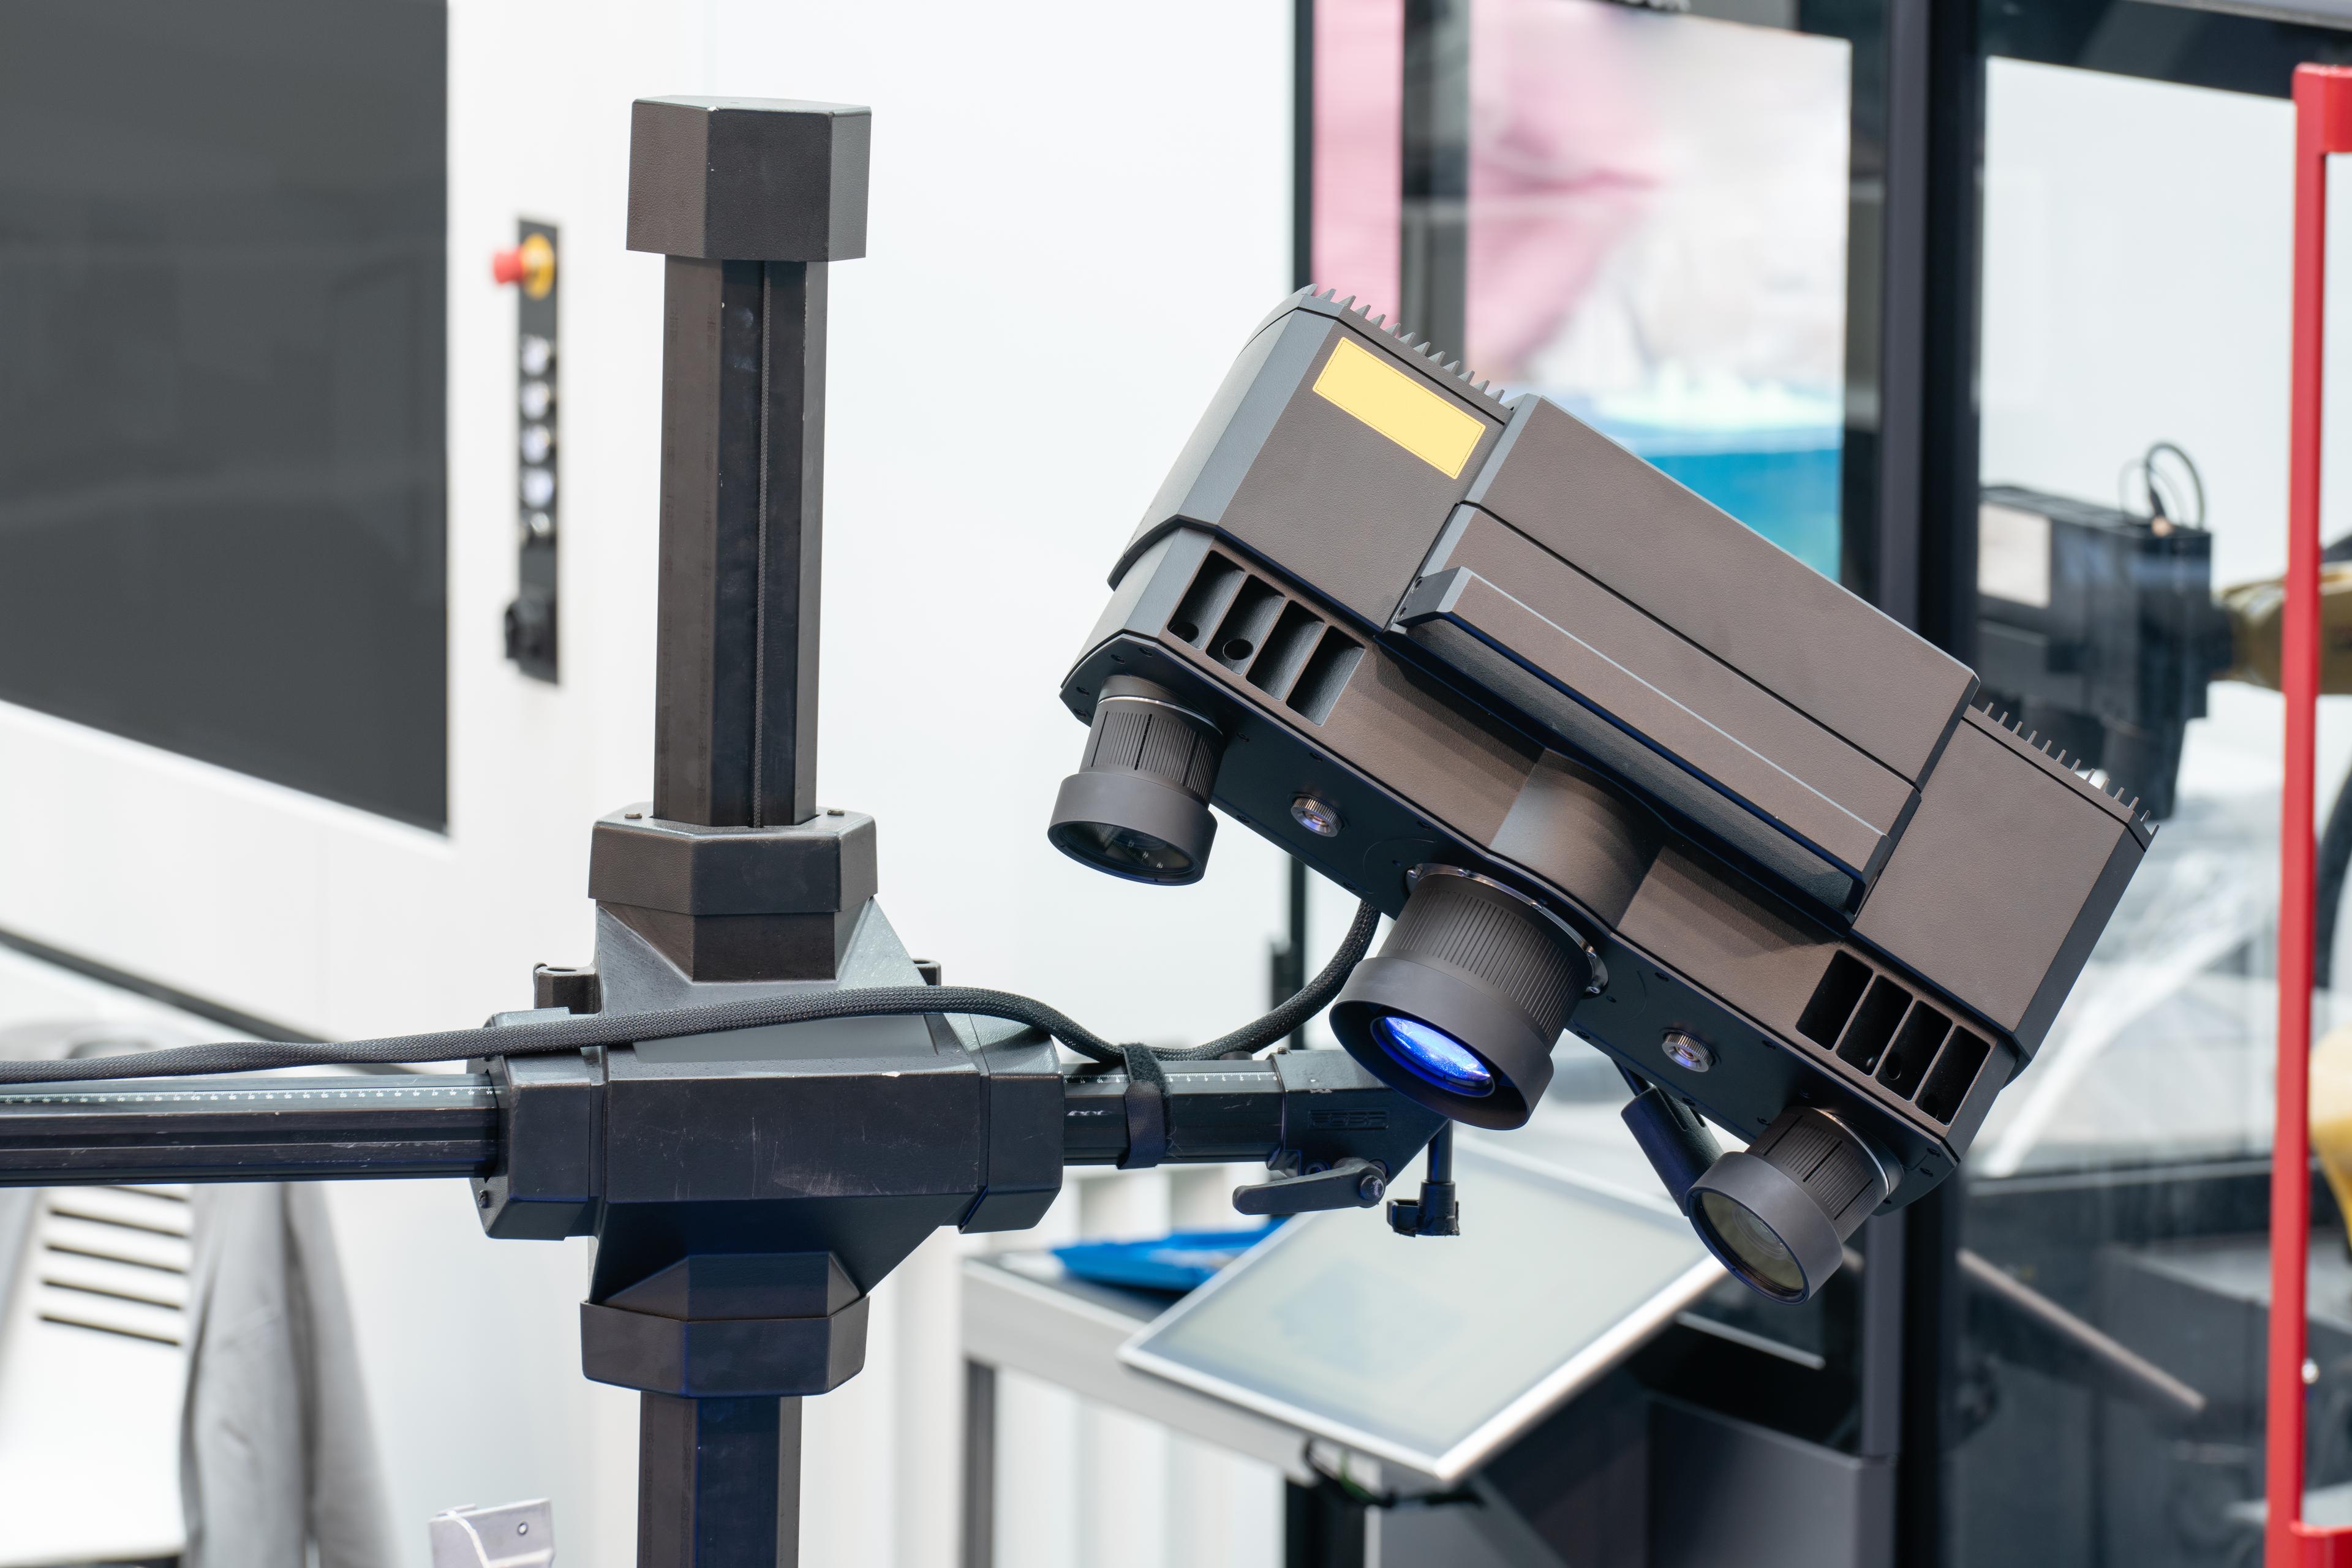
- Professional Scanning Services: For optimal quality, consider using a professional service like PhotoPanda. This option is particularly beneficial for valuable or fragile prints, as they specialize in high-resolution digitization.
- DIY Scanning: If you prefer to do it yourself, invest in a flatbed scanner or use a high-resolution smartphone scanning app. Ensure that you set your scanning settings to a high resolution (300 DPI or more) for the best results.